|
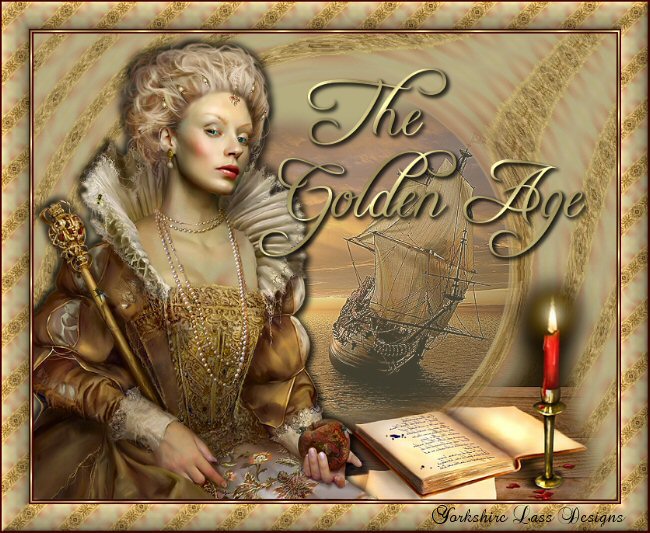
THE GOLDEN AGE
This tutorial is my own design and any resemblance to any other tutorial is purely coincidental.
© 2010 Yorkshire Lass Designs in PSP. All Rights Reserved.
It was created in Paint Shop Pro 8, but can be realised in other versions.
However, some tool descriptions and locations may vary, but the overall result
should be the same.
My thanks to all the artists and other creators, known and unknown to me,
who have
inspired this tutorial and whose work I have used.
You will need the following to complete this tutorial:
Image17Elizabeth I_LR
parchemins_plumesav0148
Tube3260_sailboat_27_09_09_sdt
Open in your PSP workspace and minimise
D_gold fold
Save to your PSP Patterns folder
The above can be downloaded here

Extract to a file on your computer
Plugins
Filter Factory D "Vortex"
Available from PSP Designers Studio
Download and extract to your Plugins folder
Font
Freebooter Script.ttf
http://www.creamundo.com/en
Download and save to your Windows >> Fonts folder or
to a folder where you store your extra fonts
******************
Drag this arrow with you to mark your place in the tutorial
Drag and Drop Script from Dynamic Drive

*****************
INSTRUCTIONS
Open a new canvas 800 x 600 pixels transparent background
Maximise tube Image17Elizabeth_I_LR
Edit >> Copy
Edit >> Paste >> Paste as New Layer on working canvas
Image >> Resize 74%
Resize All Layers unchecked
Effects >> Reflection Effects >> Pattern
Click OK
Layers >> Merge >> Merge All (Flatten)
Image >> Canvas Size
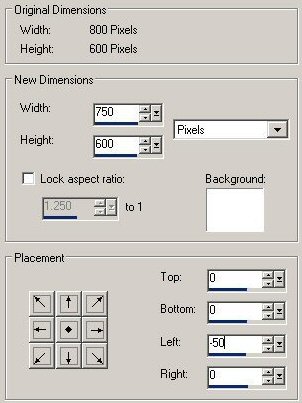
Click OK
This is what you should have now
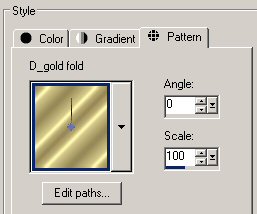
In the Materials Palette change the foreground Style to Pattern
Load the pattern just made
Change the Angle to 45 and the Scale to 50
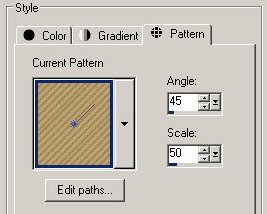
Click OK
In the Materials Palette load background with Green #B5AC7F
Open new canvas 750 x 600 pixels transparent background
Flood fill with background colour Green #B5AC7F
Layers >> New Raster Layer
Flood fill with foreground pattern
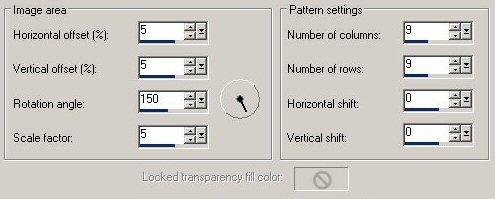
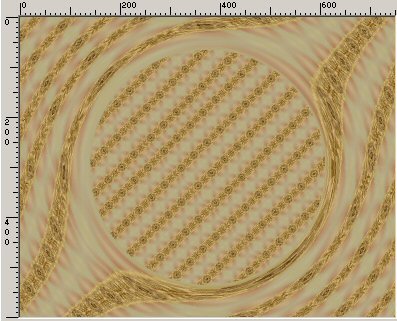
Effects >> Plugins >> Filter Factory D >> Vortex
Rotation = 255
Number of Vortices = 100
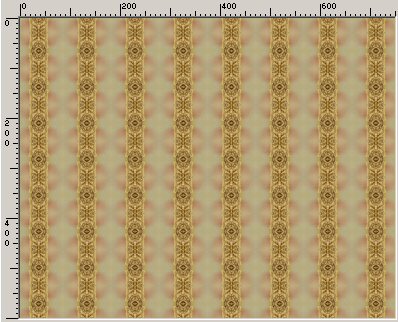
This is what you should have now
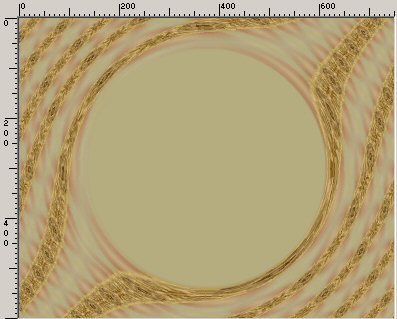
In the Layers Palette lower the opacity of Raster 2 to 75
With the Selection Type set to Circle
Mode = Replace
Feather = 0
Anti-alias checked
Draw out a circle starting at x:375, y:300 (refer to status bar at bottom of screen)
ending at approximately x:612, y:537
Edit >> Clear
Selections >> Select None
This is what you should have now
Maximise Image17Elizabeth_I_LR
Edit >> Copy
Edit >> Paste as New Layer on the working canvas
Image >> Resize 73%
Resize All Layers unchecked
Adjust >> Sharpness >> Sharpen
With the Move Tool re-position on the left of the canvas
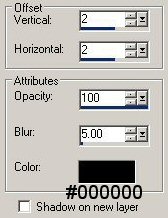
Effects >> 3D Effects Drop Shadow
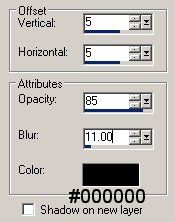
Click OK
Effects >> 3D Effects >> Drop Shadow
Change the Vertical and Horizontal Offsets to -5 (minus 5)
Maximise tube parchemins_plumesav0148
Edit >> Copy
Edit >> Paste >> Paste as New Layer on the working canvas
Image >> Mirror
Layers >> Arrange >> Move Down
With the Move Tool move down and to the right
making sure that the ink bottle is hidden behind the hand
Layers >> Duplicate
In the Layers Palette highlight Raster 1
Maximise tube Tubes3260_sailboat_27_09_09_sdt
Edit >> Copy
Edit >> Paste >> Paste as New Layer on working canvas
Image >> Resize 75%
Resize All Layers unchecked
With the Move Tool re-position (see tag for placement)
In the Layers Palette lower the opacity to 65
Effects >> Edge Effects >> Enhance
Layers >> Merge All (Flatten)
In the Materials Palette change the background Style to Pattern
Load D_gold fold
Click OK
Open font Freebooter Script.ttf
Select the Text Tool

In the text box type "The"
Click Apply
With the Move Tool reposition
Layers >> Convert to Raster Layer
Effects >> 3D Effects >> Drop Shadow
Click OK
Edit >> Repeat Drop Shadow
Select the Text Tool same settings as before
In the text box type "Golden Age"
Click Apply
With the Move Tool re-position
Layers >> Convert to Raster Layer
Effects >> 3D Effects >> Drop Shadow
Click OK
Edit >> Repeat Drop Shadow
Layers >> Merge >> Merge All (Flatten)
Image >> Add Borders
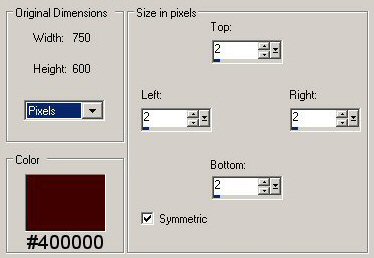
Click OK
Image >> Add Borders
Size in pixels = 2
Symmetric checked
Change Color to Yellow #FFFF40
Click OK
With the Magic Wand select the yellow border and flood fill
with the background pattern (D_gold fold)
Selections >> Select None
Image >> Add Borders
Size in pixels = 2
Symmetric checked
Change Color back to Dark Brown #400000
Click OK
Image >> Add Borders
Size in pixels = 35
Symmetric checked
Change Color to Yellow #FFFF40
Click OK
With the Magic Wand select the yellow border
flood fill with the foreground pattern
Effects >> 3D Effects >> Inner Bevel
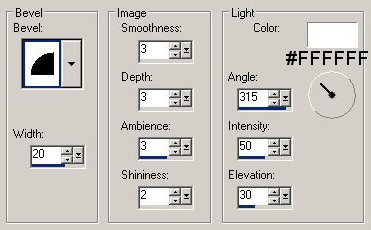
Click OK
Selections >> Select None
Image >> Add Borders
Size in pixels = 2
Symmetric checked
Change Color to Dark brown #400000
Click OK
Add your name and/or watermark
Resize if desired
Save as a jpg
I hope you enjoyed this tutorial
If you have any questions or would like to show me your result
EMAIL ME
|