|
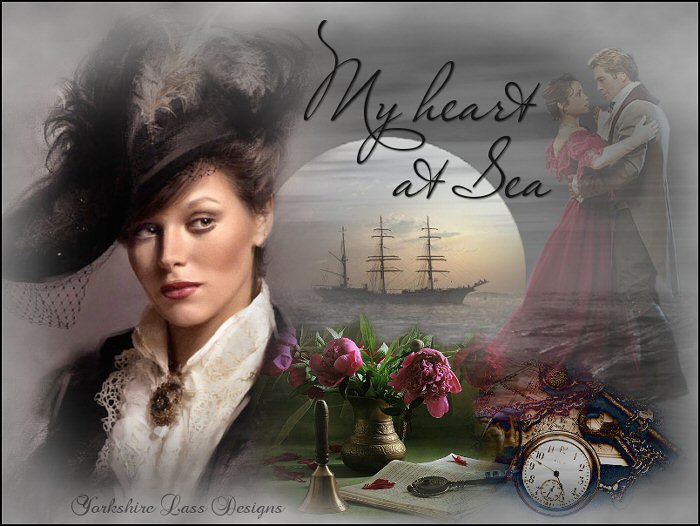
HEART AT SEA
This tutorial is my own design and any resemblance to any other tutorial is purely coincidental.
© 2010 Yorkshire Lass Designs in PSP. All Rights Reserved.
It was created in Paint Shop Pro 8, but can be realised in other versions.
However, some tool descriptions and locations may vary, but the overall result
should be the same.
My thanks to all the artists and other creators, known and unknown to me,
who have
inspired this tutorial and whose work I have used.
You will need the following to complete this tutorial:
Tubes
Shallwedance-11-08-03.pspimage
2182-luzcristina-1.pspimage
Tube3357_Sonnenuntergang_22_10_0.pspimage
h8315d9p.pspimage
granpa_treasure.pspimage
NS_44_0909.pspimage
yp_wordart_myheartatsea.psp
The above can be downloaded in a rar file here

Right click on the icon and save to your computer
Download and extract to a file on your computer then
open in your PSP work space and minimise
Plugins
MuRa's Filter Meister - Cloud
Available here
PSP Designer Studio
Download and extract to your Plugins folder
**********
Drag this arrow with you to mark your place in the tutorial

**********
INSTRUCTIONS
STEP 1
Open a new canvas 800 x 600 white background
Layers >> Promote Background Layer
In the Materials Palette
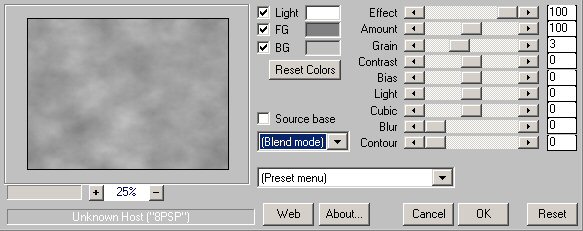
load Foreground with Dark Grey #808080 and Background with Light Grey #C0C0C0

Effects >> Plugins >> MuRa's Meister >> Cloud
STEP 2
Layers >> New Raster Layer
Selections >> Select All
Maximise tube Tube3357_Sonnenuntergang_22_10_0.pspimage
Edit >> Copy
Minimise tube
Edit >> Paste >> Paste into Selection
In the Layers Palette change the blend mode to Luminance and reduce
layer opacity to 70%
Selections >> Select None
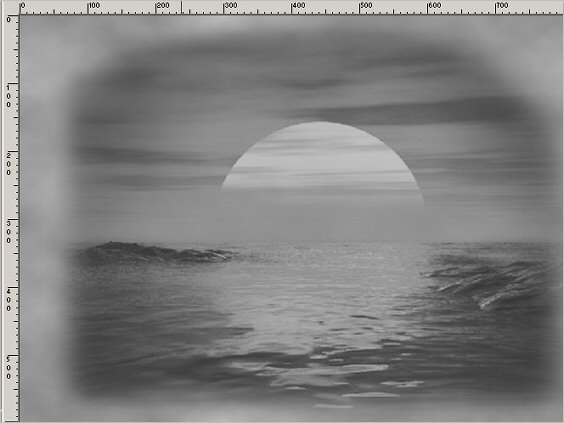
STEP 3
With the Move Tool, position tube to the right
This is what you should have now
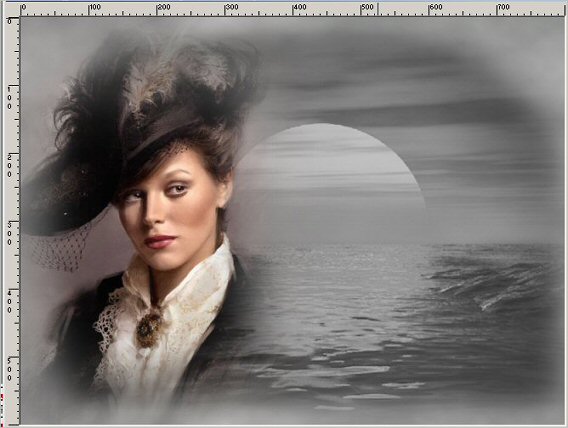
STEP 4
Maximise tube 2182-luzcristina-1.pspimage
Edit >> Copy
Minimise tube
Edit >> Paste >> Paste as New Layer
With the Move Tool position to the left
This is what you should have now
STEP 5
Maximise tube h8315d9p.pspimage
Edit >> Copy
Minimise tube
Edit >> Paste >> Paste as New Layer
Image >> Resize 50%
Resize all layers unchecked
With the Move Tool position ship inside the sun
lining up the hills in the background with the horizon on the right

STEP 6
With the Selection Tool

draw out a circle to the rim of the sun
I started at about 440, 310 but had a couple of goes before I was happy with my selection
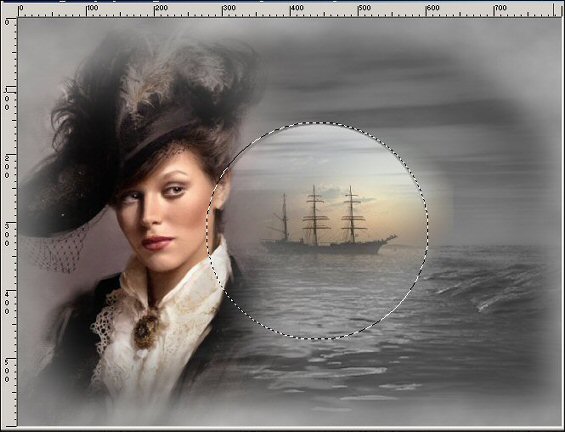
Selections >> Invert
Hit Delete
Selections >> Select None
STEP 7
Maximise tube Shallwedancest-11-08-03.pspimage
Edit >> Copy
Minimise tube
Edit >> Paste >> Paste as New Layer
Image >> Mirror
With the Move Tool position tube to the right of the sun
See finished image for placement
In the Layers Palette reduce the opacity to 24%
STEP 8
Maximise tube NS_44_0909.pspimage
Edit >> Copy
Minimise tube
Edit >> Paste >> Paste as New Layer
Image >> Resize 50%
Resize all layers unchecked
With the Move Tool move tube down to the bottom middle of the image
See finished image for placement
STEP 9
Maximise granpa_treasure.pspimage
Edit >> Copy
Minimise tube
Edit >> Paste >> Paste as New Layer
Image >> Resize 60%
Resize all layers unchecked
With the Move Tool move tube to the bottom right-hand corner
See finished image for placement
In the Layers Palette change the blend mode to Difference
Move Raster 7 below Raster 5
Layers >> Merge >> Merge All (Flatten)
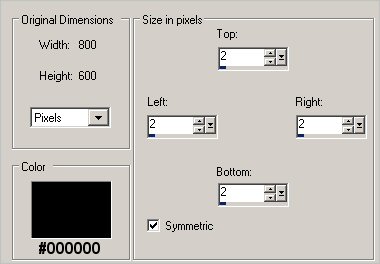
STEP 10
Image >> Add Borders
STEP 11
Maximise tube yp_wordart_heartatsea.psp
Edit >> Copy
Minimise tube
Edit >> Paste >> Paste as New Layer
With the Move Tool move to top
See finished image for placement
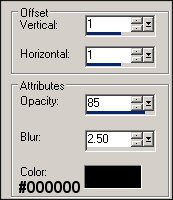
Effects >> 3D Effects >> Drop Shadow
STEP 12
Add your name and/or watermark
Layers >> Merge >> Merge All (Flatten)
Resize if desired and save as a jpg
I hope you enjoyed this tutorial!
If you have any questions or would just like to show me your result
EMAIL ME
|