|
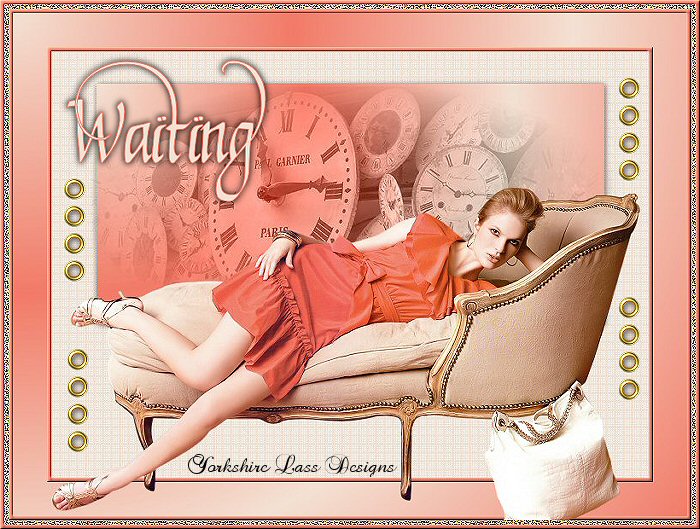
WAITING
This tutorial is my own design and any resemblance to any other tutorial is purely coincidental.
© 2009 Yorkshire Lass Designs in PSP. All Rights Reserved.
It was created in Paint Shop Pro 8, but can be realised in other versions.
However, some tool descriptions and locations may vary, but the overall result
should be the same.
My thanks to all the artists and other creators, known and unknown to me,
who have
inspired this tutorial and whose work I have used.
You will need the following to complete this tutorial:
Tubes
site_divers_1219072744_divers.pspimage
by_stirner_red_dress.psp
yp_4_rings.pspimage
Pattern
MD-Gold.bmp
Font
Abdiel.ttf
The above can be downloaded in a rar file here

Right click on the icon and save to your computer
Extract tubes and pattern to a file on your computer then open in PSP and minimise
Extract font to your Fonts folder, open and minimise
Plug Ins
Penta com >> Dot and Cross
Available here
PSP Designer Studio
Extract to your PSP Plugins folder
**********
Drag this arrow with you to mark your place in the tutorial

**********
STEP 1
Open a new transparent canvas 700 x 500 pixels.
Set your Foreground to #F27A68 and your Background to #F4E1D3
Change your Foreground to Gradient with the following settings:
Style = Sunburst
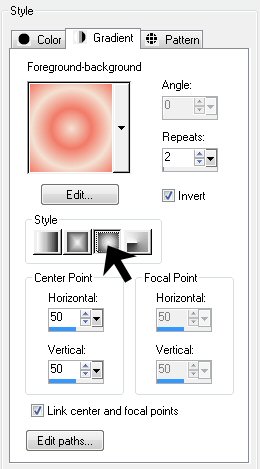
Flood fill canvas with Gradient
Image >> Resize 85%
Resize all layers unchecked.
STEP 2
Open tube site_divers_1219072744_divers.pspimage
Edit >> Copy
Minimise Tube
Edit >> Paste >> Paste as New Layer
Move to the top with the Move Tool
Image >> Resize >> 85%, resize all layers unchecked
Adjust >> Sharpness >> Sharpen
In the Layer Palette change the blend mode to Luminance (L)
and lower the opacity to 70
STEP 3
In the Layer Palette highlight Raster 1
With the Magic Wand select the transparent border

Edit >> Clear
Selections >> Select None
This step deletes any of the tube hanging over the edge
STEP 4
With the Selection Tool

draw out a rectangle as follows:
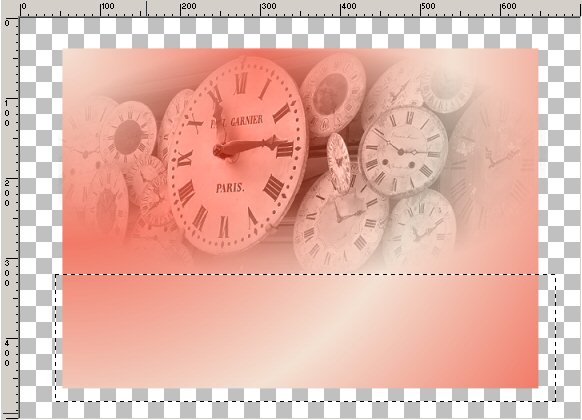
Edit >> Clear
Selections >> Select none
Layers >> Merge >> Merge Visible
STEP 5
Layers >> New Raster Layer
Flood fill with background colour #F4E1D3
Effects >> Plug Ins >> Penta.com >> Dot and Cross
Layers >> Arrange >> Send to bottom
STEP 6
In the Layer Palette highlight the Merged layer
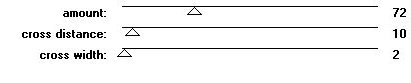
Effects >> 3D Effects >> Drop Shadow
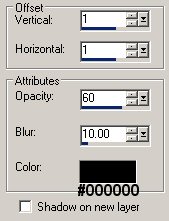
Repeat Drop Shadow changing the Vertical and Horizontal Offsets to minus 1 (-1)
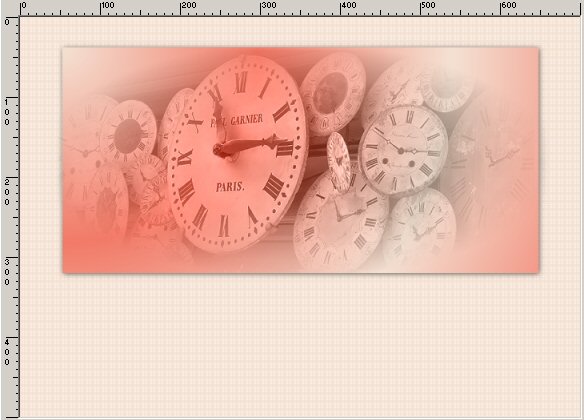
Layers >> Merge >> Merge All (Flatten)
This is what you should have now
STEP 7
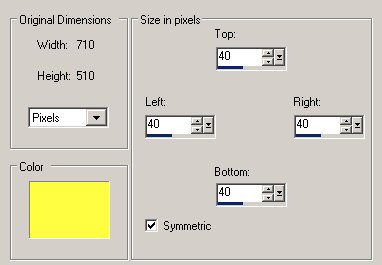
Image >> Add Borders
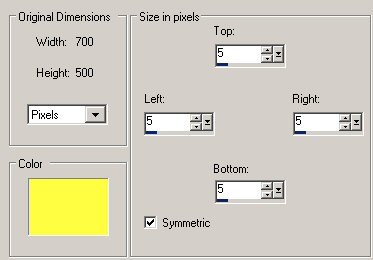
With the Magic Wand Tool select the yellow border
Flood fill selection with Foreground colour #F27A68
Effects >> 3D Effects >> Inner Bevel
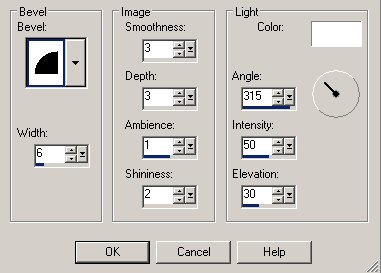
Selections >> Select None
STEP 8
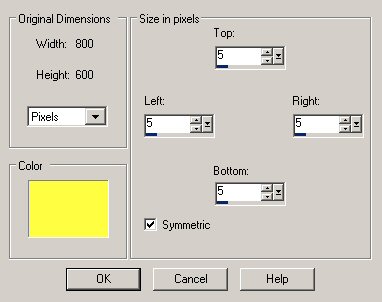
Image >> Add Borders
With the Magic Wand Tool (same settings as in STEP 7) select the yellow border
Flood fill the selection with the Gradient
Selections >> Select None
STEP 9
Repeat STEP 7
STEP 10
Open tube by_stirner_red_dress.psp
Edit >> Copy
Minimise tube
Edit >> Paste >> Paste as New Layer
Image >> Mirror
With the Move Tool position so that the tube hides the bottom edge of the clock panel
(see finished image for placement)
Effects >> 3D Effects >> Drop Shadow
Same settings as in STEP 6
Repeat Drop Shadow changing the Vertical and Horizontal Offsets to minus 1 (-1)
Layers >> Merge >> Merge All (Flatten)
STEP 11
In the Materials Palette, load MD-Gold pattern into foreground, Angle = 0, Scale = 100
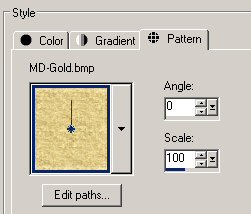
Image >> Add Borders
With the Magic Wand Tool (same settings as in STEP 7) select the yellow border
Flood fill with pattern MD-Gold
Effects >> Edge Effects >> Enhance More
Selections >> Select None
STEP 12
Repeat STEP 7
STEP 13
In the Materials Palette your Foreground should be set to #F27A68 and your Background to #F4E1D3
Select the Text Tool

Click on the image and type the word "Waiting" in the dialogue box
Layers >> Convert to Raster
With the Move Tool postion in the top left corner
See finished image for placement
Effects >> 3D Effects >> Drop Shadow
Same settings as in STEP 6
Repeat Drop Shadow changing the Vertical and Horizontal Offsets to minus 1 (-1)
STEP 14
Maximise tube yp_4_rings.pspimage
Edit >> Copy
Minimise tube
Edit >> Paste >> Paste as New Layer
Layers >> Duplicate
Repeat twice more so that you have 4 sets of rings
With the Move Tool position 2 sets of rings on the left-hand side
and 2 sets on the right-hand side
See finished image for placement.
STEP15
Add your name and/or watermark
Layers >> Merge >> Merge All (flatten)
Resize if desired and save as a jpg.
I hope you enjoyed this tutorial!
If you have any questions or would just like to show me your result
EMAIL ME
|